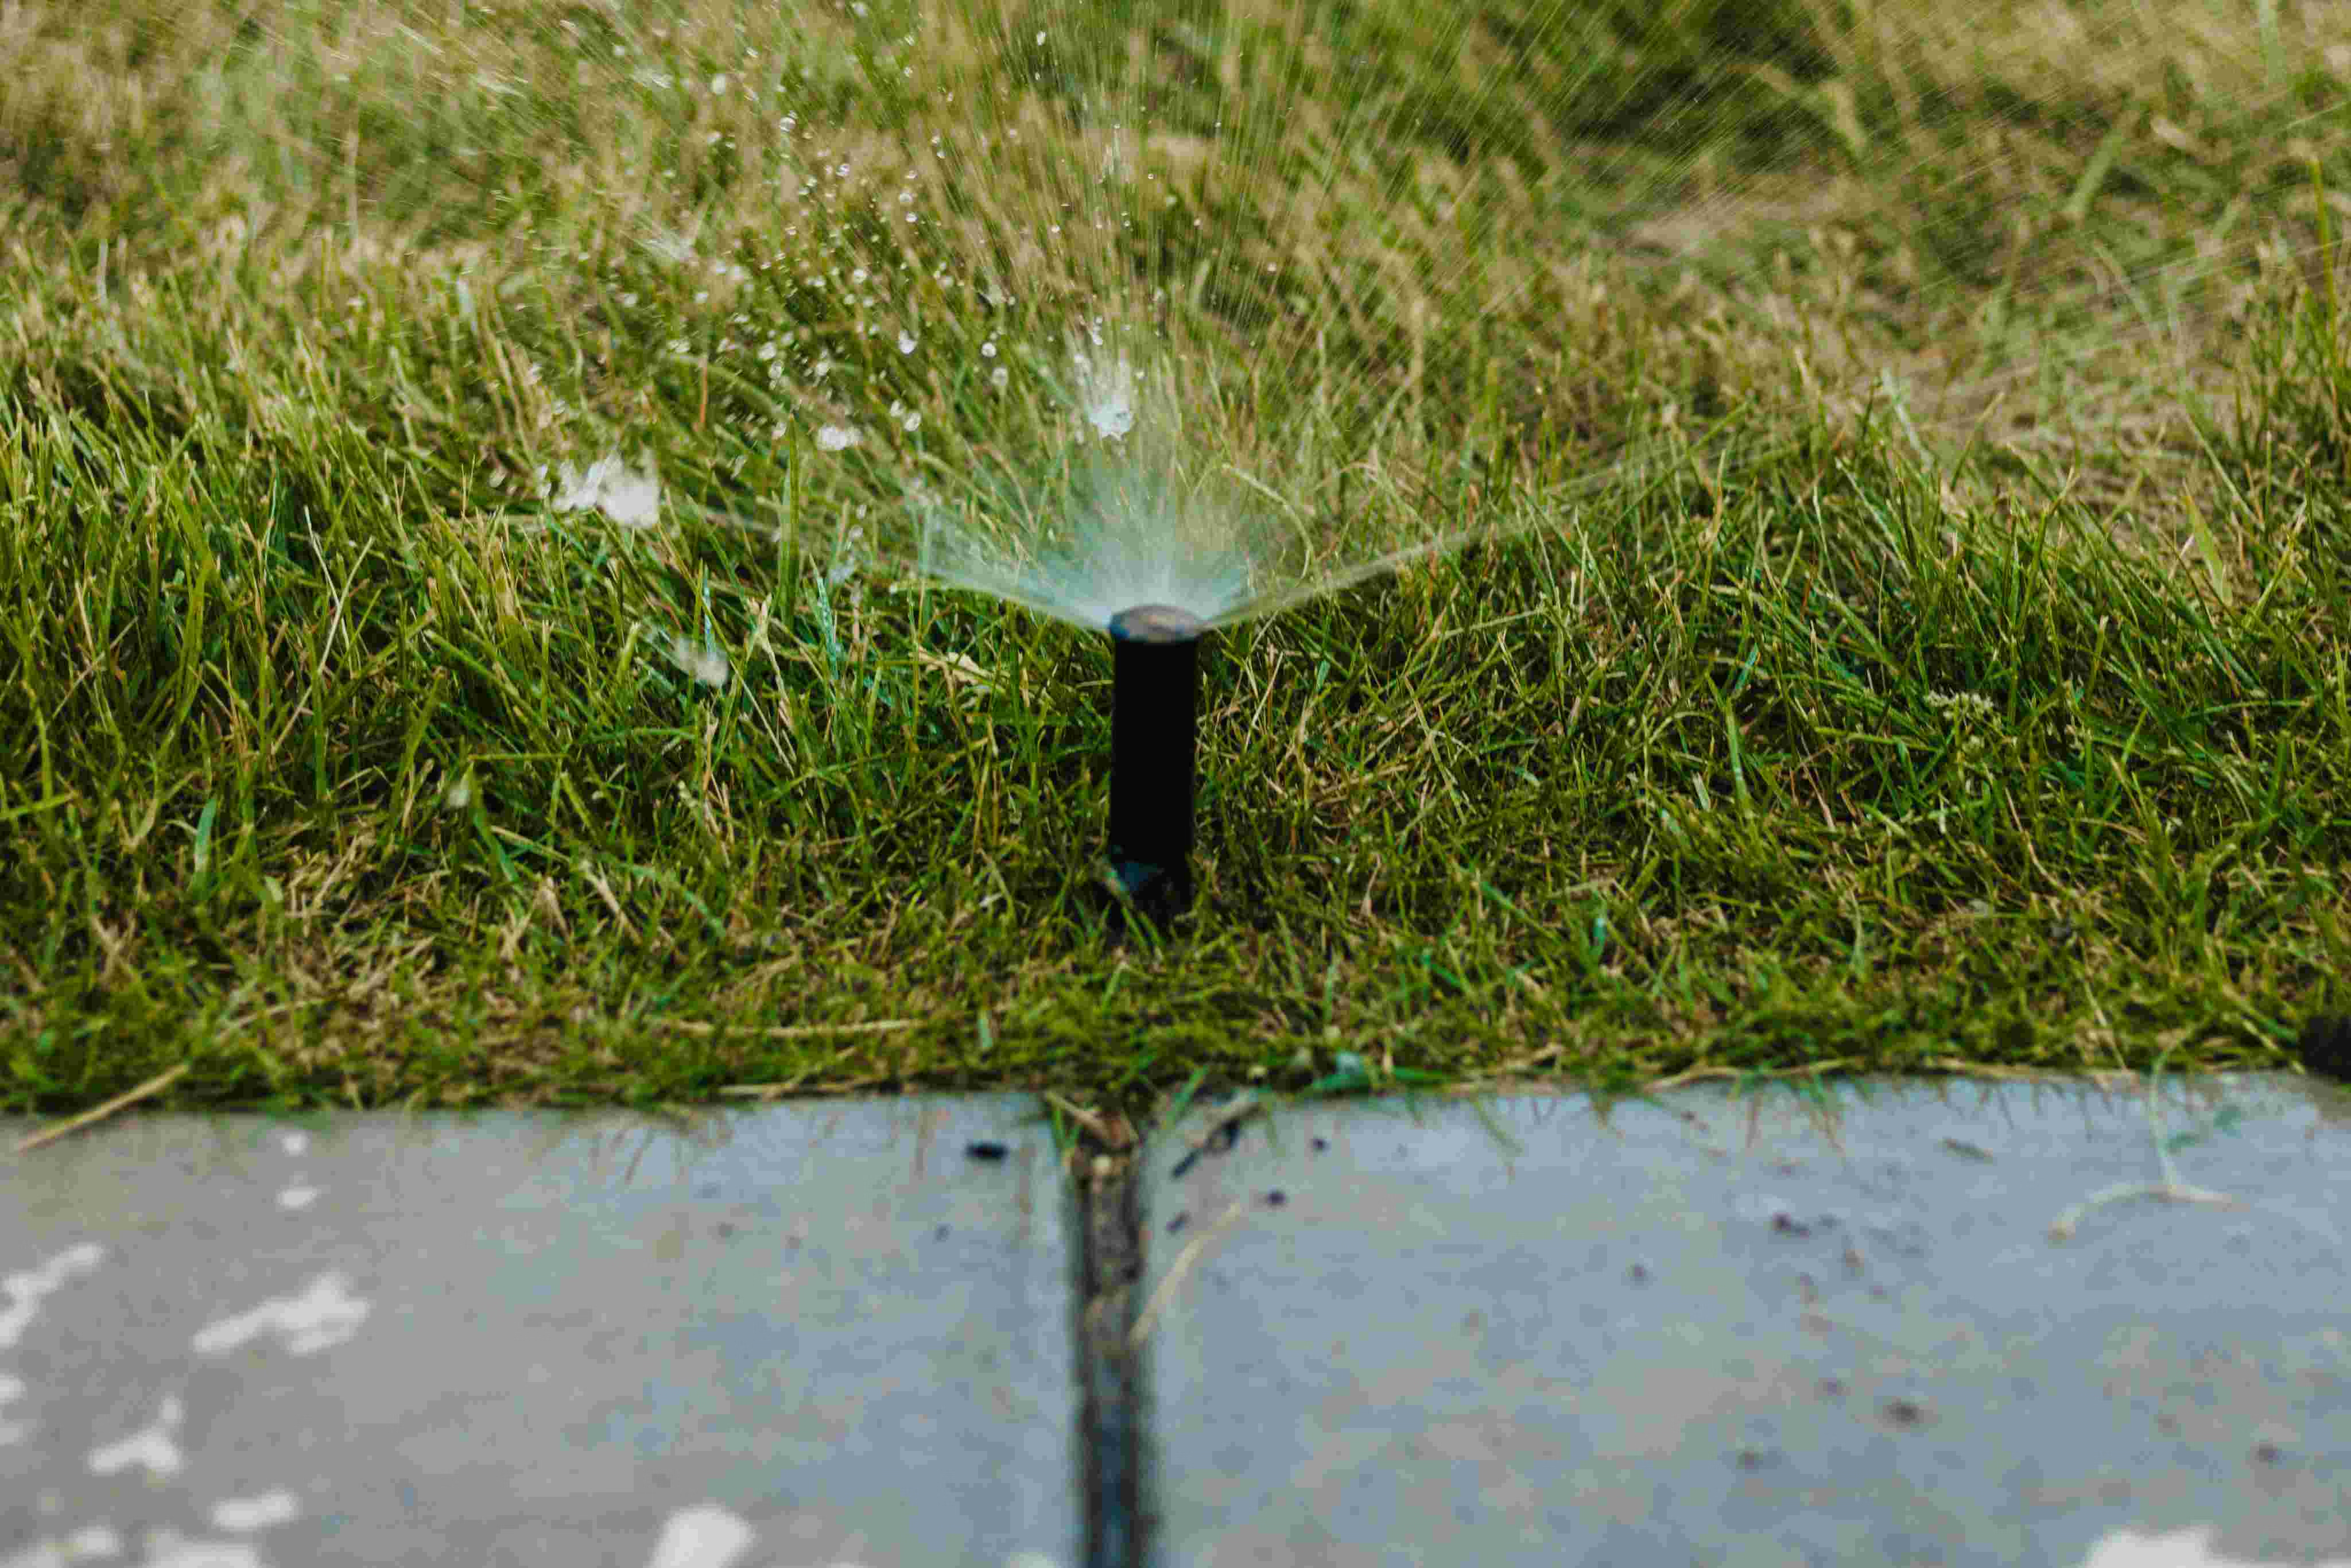
Winterizing a sprinkler system means removing water that could freeze inside the main line, valves, backflow preventer, lateral pipes, and sprinkler heads.
For most Utah sprinkler systems, the most reliable method is a compressed-air blowout. The water supply is shut off, a compressor is connected to the sprinkler main line, and each zone is activated until the remaining water has been pushed out.
The process itself is not especially complicated. The difficult part is understanding how the system was built, connecting in the correct place, and moving enough air through the pipes without using unsafe pressure.
We winterize hundreds of sprinkler systems across Utah County and Salt Lake County every fall. This guide explains the same basic process we use in the field.
Quick answer: Shut off and verify the sprinkler water supply, relieve the water pressure, prepare the backflow preventer, connect regulated compressed air to a proper blowout port, and blow out one zone at a time until only a light mist remains. Keep at least one zone open whenever the compressor is supplying air.
Safety warning: Compressed air can damage sprinkler components or cause physical injury when used incorrectly. Wear eye and hearing protection, keep people and pets away from operating sprinkler heads, never stand over irrigation components during a blowout, and follow the pressure limits provided by your system’s manufacturers. If you cannot confidently identify the shutoff, backflow assembly, connection point, or pressure limit, hire a professional.
Why Sprinkler Systems Need to Be Winterized
Turning off the sprinkler water is not the same as winterizing the system.
After the supply is shut off, water can remain trapped inside:
- The sprinkler main line
- Valve manifolds
- Lateral pipes
- Filters
- Backflow preventers
- Low spots in the yard
- Sprinkler heads with check valves
- Drip irrigation lines
When trapped water freezes, it expands. That can crack PVC fittings, split manifolds, damage filters, break backflow preventers, and create underground leaks that do not become obvious until spring.
Above-ground components are generally the most vulnerable because they do not receive any insulation from the soil. However, underground parts can still freeze when water is trapped inside a rigid component.
When Should You Winterize Sprinklers in Utah?
We recommend winterizing most sprinkler systems along the Wasatch Front in late September or early October.
Utah weather varies significantly from year to year. Waiting until freezing temperatures appear in the forecast creates two problems: your system is already at risk, and every reputable sprinkler company becomes extremely busy at the same time.
By late September, established lawns require much less water than they do during the summer. Giving up a small amount of fall watering is usually a better trade than risking freeze damage.
If your system has an above-ground backflow preventer or exposed supply pipe, winterize earlier or protect those components before the first hard freeze.
Three Ways to Winterize an Irrigation System
There are three common drainage methods.
Manual drainage
A system designed for manual drainage has drain valves installed at low points. After the water is shut off and pressure is relieved, each drain is opened so gravity can remove the water.
This only works correctly when the pipes are properly sloped and drains exist at every low point.
Automatic drainage
Automatic drains open when water pressure drops below a certain level. They can provide helpful protection, but they are normally installed on lateral lines—not as a complete solution for the pressurized main line.
Automatic drains can also clog, stick, or fail. We do not recommend assuming that a system is protected simply because automatic drains were installed at some point.
Compressed-air blowout
A sprinkler blowout uses compressed air to push water out through the sprinkler heads. This is usually the most reliable option when the system’s drainage design is unknown or when heads contain check valves that hold water in the pipes.
The rest of this guide focuses on the blowout method.
What You Need to Blow Out a Sprinkler System
A normal blowout may require:
- An air compressor with adequate airflow
- A pressure regulator
- A large air hose
- A fitting that matches the blowout connection
- Threaded adapters for different connection sizes
- Eye protection
- Hearing protection
- Access to the sprinkler controller
- The manufacturer’s instructions for the backflow preventer and other specialized components
Our commercial compressor is rated at 185 CFM, or cubic feet per minute. We use equipment that large because it allows us to handle large residential systems, bigger pipes, commercial properties, and long sprinkler runs efficiently.
That does not mean we force 185 CFM or maximum compressor pressure into every system. Compressor capacity, airflow, and operating pressure are different things. Air needs to be introduced gradually and regulated for the system being serviced.
CFM Versus PSI: Why Air Volume Matters
A lot of homeowners focus only on PSI. For a sprinkler blowout, airflow is just as important—and often more important.
- PSI measures pressure.
- CFM measures the volume of air moving through the system.
Trying to compensate for a small compressor by building extremely high pressure is dangerous. A high-pressure burst from a small tank is not equivalent to a steady supply of properly regulated air.
Rain Bird’s homeowner winterization instructions call for high air volume at low pressure, require a regulator, and state that pressure must not exceed 50 PSI for the systems covered by its instructions. Other components may have different limits, so always follow the lowest applicable manufacturer rating.
Our winterization setup uses a three-quarter-inch, 100-foot hose. A larger hose reduces airflow restrictions and lets us reach the connection point without choking down the compressor unnecessarily.
Where Should the Compressor Be Connected?
The best connection is usually a dedicated blowout port located on the sprinkler main line.
The goal is to connect through the largest practical opening so the system receives steady airflow. Forcing air through a tiny test cock, sprinkler head, or backward through a valve severely restricts airflow and makes the blowout slower and less effective.
Depending on the system, a technician may connect through:
- A dedicated blowout port
- A properly placed hose bib
- A main-line connection
- A manufacturer-approved backflow adapter
- A test cock when no better connection exists
A test cock may work in some situations, but its small opening limits airflow. Blowing backward through a sprinkler valve is even less desirable.
If the system does not have a proper connection, installing a permanent blowout port is usually a worthwhile improvement. It makes every future winterization faster and more consistent.
How to Winterize a Sprinkler System With Compressed Air
1. Inspect the system before starting
Identify the sprinkler shutoff, backflow preventer, controller, valve boxes, blowout connection, number of zones, and any special components such as pumps, filters, drip irrigation, or secondary-water equipment.
Do not guess. If you cannot identify how water enters and moves through the system, stop and have the system inspected.
2. Shut off the sprinkler water supply
Close the irrigation shutoff valve. This is separate from the valve supplying water to the house.
The shutoff may be:
- Inside a basement or mechanical room
- Near the water meter
- In an underground valve box
- A stop-and-waste valve operated with a long key
- Part of a secondary-water connection
Confirm that the valve actually stops the flow of water. A damaged or partially closing shutoff can continue feeding the sprinkler system during the blowout and throughout the winter.

3. Relieve water pressure
Activate a sprinkler zone briefly after shutting off the supply. This relieves pressure in the main line and confirms that the water has stopped flowing.
Never remove a pressurized cap or open a drain while standing directly over it.
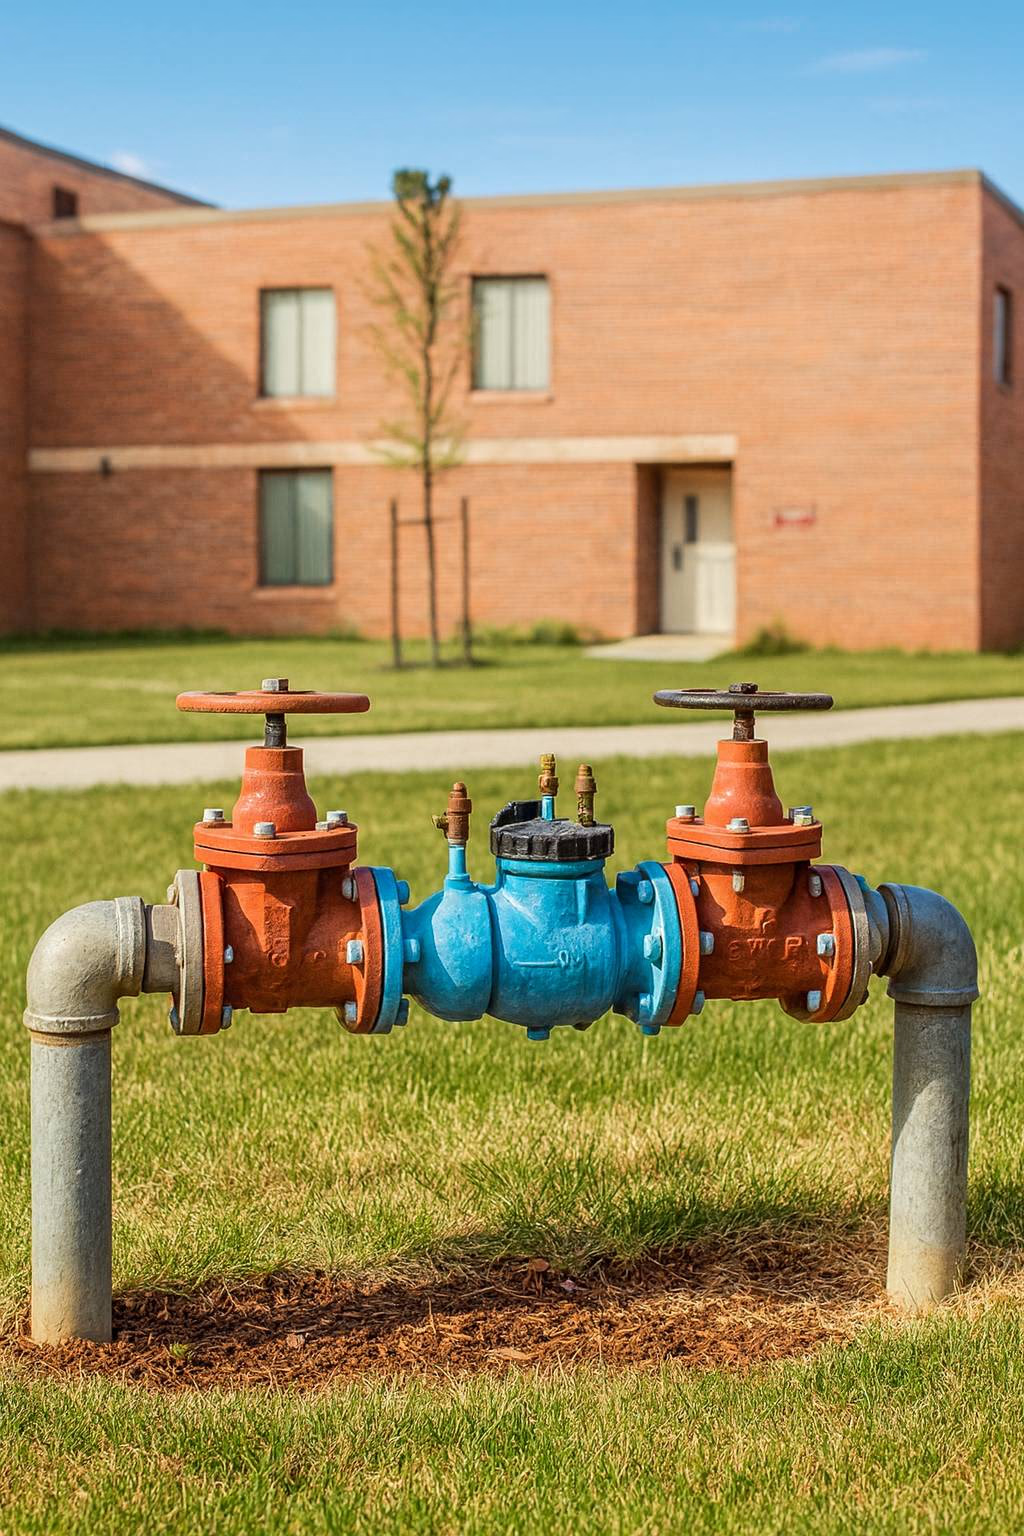
4. Prepare the backflow preventer
Backflow preventers vary by manufacturer and design. They may contain test cocks, ball valves, relief assemblies, and internal areas that trap water.
Follow the manufacturer’s procedure for that specific assembly. Test cocks commonly need to be opened, trapped water drained, and some ball valves left partially open through the winter.
Do not assume that closing every valve protects the backflow preventer. That can trap water inside it.
Compressed air should only pass through a backflow assembly when the manufacturer’s design and instructions allow it. A properly placed connection downstream of the backflow is usually preferable.
5. Connect the compressor
Attach the regulated air hose to the dedicated blowout port or approved connection.
Use a fitting that matches the connection securely. Do not hold improvised adapters in place by hand.
Before introducing air:
- Make sure the sprinkler water is off
- Confirm a sprinkler zone is open
- Set the regulator within the system’s safe range
- Keep everyone away from sprinkler heads and valve boxes
A zone should remain open from the time air begins flowing until after the compressor is shut down. This helps prevent the main line from becoming a sealed pressure vessel.
6. Introduce air gradually
Open the compressor valve slowly. The sprinkler heads should rise and begin discharging water.
At first, the discharge may look like heavy spray or even smoke from a distance. That is water breaking into a fine mist as compressed air moves through the pipes.
Do not immediately increase the pressure because the heads rise slowly. Airflow restrictions, long pipe runs, small fittings, rotary nozzles, and drip irrigation can all make a zone take longer to clear.
7. Blow out one zone at a time
Run one sprinkler zone at a time. A manufacturer may recommend beginning with the zone farthest from the compressor connection.
In our normal sequence, we give the first active zone considerably more time because the initial airflow is clearing both that zone and much of the sprinkler main line. Once the main line has been cleared, the remaining zones usually finish faster.
Do not run a dry zone continuously for an excessive amount of time. Compressed air creates heat, and many sprinkler heads rely on water for cooling and lubrication. Rain Bird recommends limiting each continuous zone cycle to two minutes, then returning for additional passes if needed.
A good process is:
- Run the first zone until the heavy water discharge becomes a fine mist.
- Advance to the next zone without closing every zone against the compressor.
- Continue through all remaining zones.
- Repeat the cycle if a zone still releases significant water.
- Give low-flow rotary and drip zones additional attention.
Rotary nozzles and drip emitters restrict airflow. For a drip zone, opening the end of the drip line can help water and air escape more freely.
8. Watch for normal pulsing
After most of the water has left a zone, sprinkler heads may repeatedly rise and fall. This often happens when the remaining air volume is restricted.
If air is still escaping and there are no signs of broken components, the pulsing itself does not necessarily mean anything is wrong.
What matters is that heavy water flow has stopped and only a light mist remains.
9. Shut the compressor down safely
Leave one zone open while turning off the compressor. Allow the pressure to dissipate before approaching or disconnecting the hose.
Then:
- Confirm the compressor is off.
- Wait for the system to depressurize.
- Disconnect the air hose.
- Close or cap the blowout connection as appropriate.
- Finish draining any components that were not cleared by the blowout.
Never disconnect a pressurized air hose.
10. Set the controller for winter
Turn the sprinkler controller to OFF, rain mode, or its manufacturer’s winter setting.
For most systems without a pump, the controller can remain powered so it retains the schedule and current time. Systems controlling pumps may require additional shutdown steps to prevent a pump from running dry.
Follow the controller and pump manufacturers’ instructions rather than disconnecting wires or power at random.
11. Leave the system in its winter position
The sprinkler water supply should remain completely off until spring.
Backflow valves and test cocks may need to remain partially open, depending on the manufacturer. Drain caps, manual valves, pumps, and filters may have their own winter positions.
Take a photo of the final valve positions so you know how the system was left.
How Do You Know When a Sprinkler Zone Is Finished?
A zone is generally finished when the sprinkler heads stop discharging streams of water and only a fine mist remains.
You do not need to run hot, completely dry air through the heads for several minutes. Doing that can damage internal sprinkler mechanisms.
Some water droplets will remain inside almost any system. The goal is to remove enough water that there is room for any small remaining amount to expand without cracking a sealed component.
Common Sprinkler Winterization Mistakes
Using excessive pressure
Higher pressure does not make up for inadequate airflow. It increases the risk of damaged pipes, valves, fittings, and sprinkler heads.
Starting the compressor with every zone closed
This can rapidly overpressurize the main line. Open a zone before supplying air.
Connecting through a tiny opening when a better port exists
A small test cock or improvised fitting restricts airflow. Use a full-size main-line connection whenever possible.
Forgetting the backflow preventer
A yard can appear fully blown out while water remains trapped in the backflow assembly.
Assuming automatic drains did everything
Automatic drains only protect the areas they were designed and positioned to drain. They can also fail.
Running sprinkler heads dry for too long
Once the discharge becomes a fine mist, move to another zone. Return later for a second short pass if necessary.
Forgetting the main line
The first active zone usually needs more time because air is clearing the sprinkler main line for the first time.
Failing to verify the shutoff
A shutoff that leaks through can refill the system after you leave. Confirm that it actually works.
Should You Winterize Sprinklers Yourself?
A careful homeowner may be able to winterize a simple system if it has:
- A clearly identified and functioning shutoff
- A dedicated blowout connection
- Known pipe and component ratings
- No complicated pump or backflow setup
- An appropriately sized compressor
- A regulator and correct fittings
- Clear manufacturer instructions
Hire a professional when the system configuration is unknown, the backflow procedure is unclear, the shutoff does not work, there is no safe connection point, or the available compressor cannot provide adequate regulated airflow.
A professional also makes sense when the potential cost of a mistake is much higher than the cost of the service.
Homeowner FAQs
Is shutting off the sprinkler water enough?
No. Shutting off the supply prevents new water from entering, but water can remain trapped in pipes, valves, filters, backflow preventers, and sprinkler heads.
At what temperature can sprinklers freeze?
Water begins freezing at 32°F, but the actual risk depends on how low the temperature falls, how long it remains below freezing, whether components are above ground, and how much water is trapped inside them. Do not use one mild overnight freeze as proof that the system is safe.
What PSI should be used to blow out sprinklers?
Use the lowest pressure limit specified by the manufacturers of the pipes, valves, heads, backflow assembly, and other components. Rain Bird’s homeowner blowout instructions cap pressure at 50 PSI for the systems covered by its guide. Never use unregulated compressor pressure.
What size compressor is needed?
That depends on the system’s pipe size, number of heads, zone flow, and length. Air volume is measured in CFM. A small tank compressor may clear a compact system through repeated cycles, but it will usually take longer and may not move enough sustained air for larger systems. Professional compressors provide much greater airflow while still being regulated to a safe pressure.
Can I blow out all the sprinkler zones at once?
No. Blow out one zone at a time. Opening too many zones reduces the airflow available to each one and makes it harder to clear the pipes thoroughly.
How long should each zone run?
Run each zone until heavy water flow becomes a fine mist, but avoid operating a dry zone continuously for more than the manufacturer recommends. Multiple short passes are safer than one excessively long pass.
Why do the sprinkler heads move up and down?
Once most of the water is gone, restricted airflow can make the heads rise and fall repeatedly. This is usually normal as long as air is still escaping and no components appear damaged.
Do sprinkler systems with automatic drains still need a blowout?
We generally recommend it. Automatic drains are useful, but they only drain properly when installed at the correct low points and functioning correctly. They may not protect the main line, backflow preventer, filters, check-valve heads, or other trapped sections.
Does secondary water need to be winterized?
Yes. When a city or irrigation district shuts down its secondary supply, it only prevents new water from entering the property. Water can still remain inside the homeowner’s irrigation system.
What if the system freezes before it is winterized?
Do not assume everything is ruined. Shut off the sprinkler water supply and have the system winterized as soon as conditions allow. Exposed backflow preventers and above-ground piping should be inspected carefully for cracks.
When can I turn the sprinklers back on?
Wait until the danger of freezing weather has passed. In spring, restore water slowly and inspect the system for leaks, damaged valves, and broken sprinkler heads before returning to a normal watering schedule.
The Bottom Line
A good sprinkler winterization comes down to four things:
- Confirm that the water supply is actually off.
- Use adequate air volume at safe, regulated pressure.
- Clear the main line and every individual zone.
- Properly drain the backflow preventer and other vulnerable components.
Do those things correctly and the system should be ready for winter. Miss one of them, and a sprinkler system that looked finished in October can become an expensive repair in the spring.
Storm Sprinklers provides professional sprinkler blowouts throughout Utah County and Salt Lake County. We use commercial equipment, trained technicians, and a repeatable process designed to protect the complete irrigation system—not just the visible sprinkler heads.
Book sprinkler winterization online or view our current sprinkler winterization pricing.
About the Author
Austin Green is the founder and owner of Storm Sprinklers, an irrigation repair and installation company based in Orem, Utah. He writes practical guides based on the systems and problems the Storm Sprinklers team handles in the field.